Recipe Card
Shatteringly crisp, flaky samosas with a spiced potato-pea filling, just like the halwai shops of Punjab. Follow this detailed recipe for bakery-style crunch at home.
Ingredients
- 250g all-purpose flour (maida), about 2 cups
- 60g ghee or neutral oil (about 4 tablespoons), for the moyan
- 1 teaspoon ajwain (carom seeds)
- 1 teaspoon fine salt
- 120ml water (about ½ cup), added gradually — the dough must be firm
- 500g potatoes (about 4 medium), boiled a day ahead, cooled, peeled and cut into small cubes
- 100g green peas (about ¾ cup), fresh or frozen, parboiled
- 2 tablespoons oil or ghee
- 1 teaspoon cumin seeds
- 1 tablespoon coriander seeds, lightly crushed
- 1 tablespoon finely grated fresh ginger
- 2 green chillies, finely chopped (adjust to taste)
- ½ teaspoon turmeric powder
- 1 teaspoon red chilli powder (Kashmiri, for colour and gentle heat)
- 1½ teaspoons amchur (dried mango powder) or 1 tablespoon anardana (dried pomegranate seeds)
- 1 teaspoon garam masala
- 1¼ teaspoons salt, or to taste
- 3 tablespoons chopped fresh coriander leaves
- 750ml–1 litre neutral oil (sunflower, groundnut, or canola) for deep frying
- 2 tablespoons all-purpose flour mixed with 3 tablespoons water, to make the sealing slurry
Instructions
- Rub in the moyan. In a large bowl, whisk the flour, ajwain, and salt. Add the ghee or oil and rub it into the flour with your fingertips for 3–4 minutes, until the mixture looks like coarse, even breadcrumbs. Squeeze a handful — it should clump together like damp sand. This step creates the flaky layers, so don’t rush it.
- Make a firm dough. Add the water a splash at a time, mixing as you go, and knead for 5–6 minutes into a stiff, smooth dough — noticeably firmer than roti or poori dough. A soft dough fries up chewy and absorbs oil; a firm dough fries up crisp. Cover with a damp cloth and rest for 30 minutes. Resting relaxes the gluten so the dough rolls without springing back.
- Prepare the filling. Heat 2 tablespoons oil in a wide pan over medium heat. Add the cumin seeds and crushed coriander seeds; let them sizzle for 20–30 seconds until fragrant. Stir in the ginger and green chillies, cook for a minute, then add the peas, turmeric, and red chilli powder. Cook for 2–3 minutes, stirring, until the raw smell of the spices disappears.
- Add the potatoes and season. Tip in the cubed potatoes and salt, and toss gently so the cubes are coated in spice but don’t break apart. Cook for 4–5 minutes, stirring occasionally, letting the potatoes pick up colour and flavour. Take the pan off the heat and stir in the amchur or anardana, garam masala, and coriander leaves. Taste and adjust — it should be bold, tangy, and well-salted. Spread the filling on a plate to cool completely before assembling; warm filling makes the dough soggy and hard to seal.
- Divide and roll. Knead the rested dough briefly and divide it into 6 equal balls. Roll one ball into an oval roughly 20cm long and 13cm wide (about 8 × 5 inches), keeping the thickness even — neither paper-thin nor thick. Cut the oval in half crosswise to get two semi-circles. Keep the remaining dough covered so it doesn’t dry out.
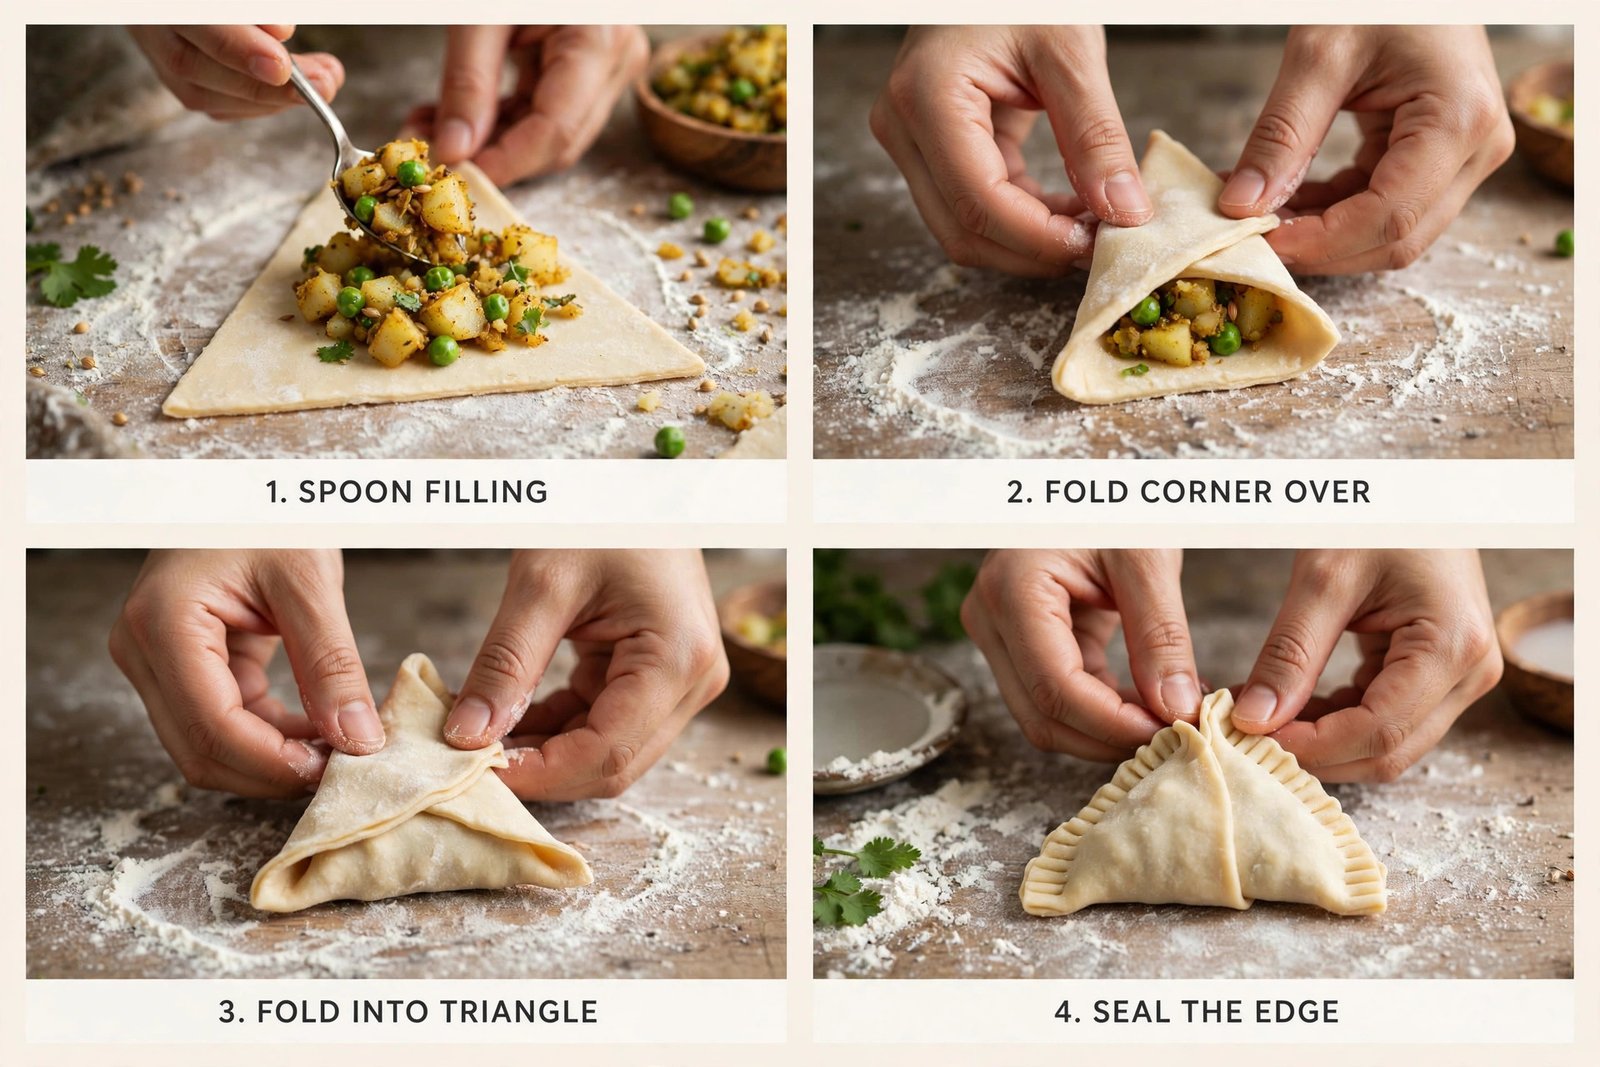
- Form the cone. Take one semi-circle and brush the sealing slurry along the straight cut edge. Fold it into a cone, overlapping the straight edges by about 1cm, and press firmly to seal — run your thumb along the seam twice to be sure. You should have a neat cone with a pointed bottom. Hold it in your palm like a little cup.
- Fill and seal. Spoon 2–3 tablespoons of the cooled filling into the cone, filling it about three-quarters full — overfilling makes sealing difficult and causes bursting in the oil. Brush slurry around the inside of the open top edge, then pinch the top closed, pressing out any trapped air as you go. Crimp or fold the sealed edge for extra security. Set the finished samosa aside on a tray and repeat with the rest. Let the assembled samosas rest for 10–15 minutes so the seals set.
- Heat the oil low and slow. Pour oil into the kadhai to a depth of at least 7–8cm and heat it to 150–160°C (300–320°F). Test with a small piece of dough: it should sink, then rise slowly with gentle bubbles. If it browns immediately, the oil is too hot — take the pan off the heat for a minute. Low temperature is the single biggest secret to a crisp, blistered crust.
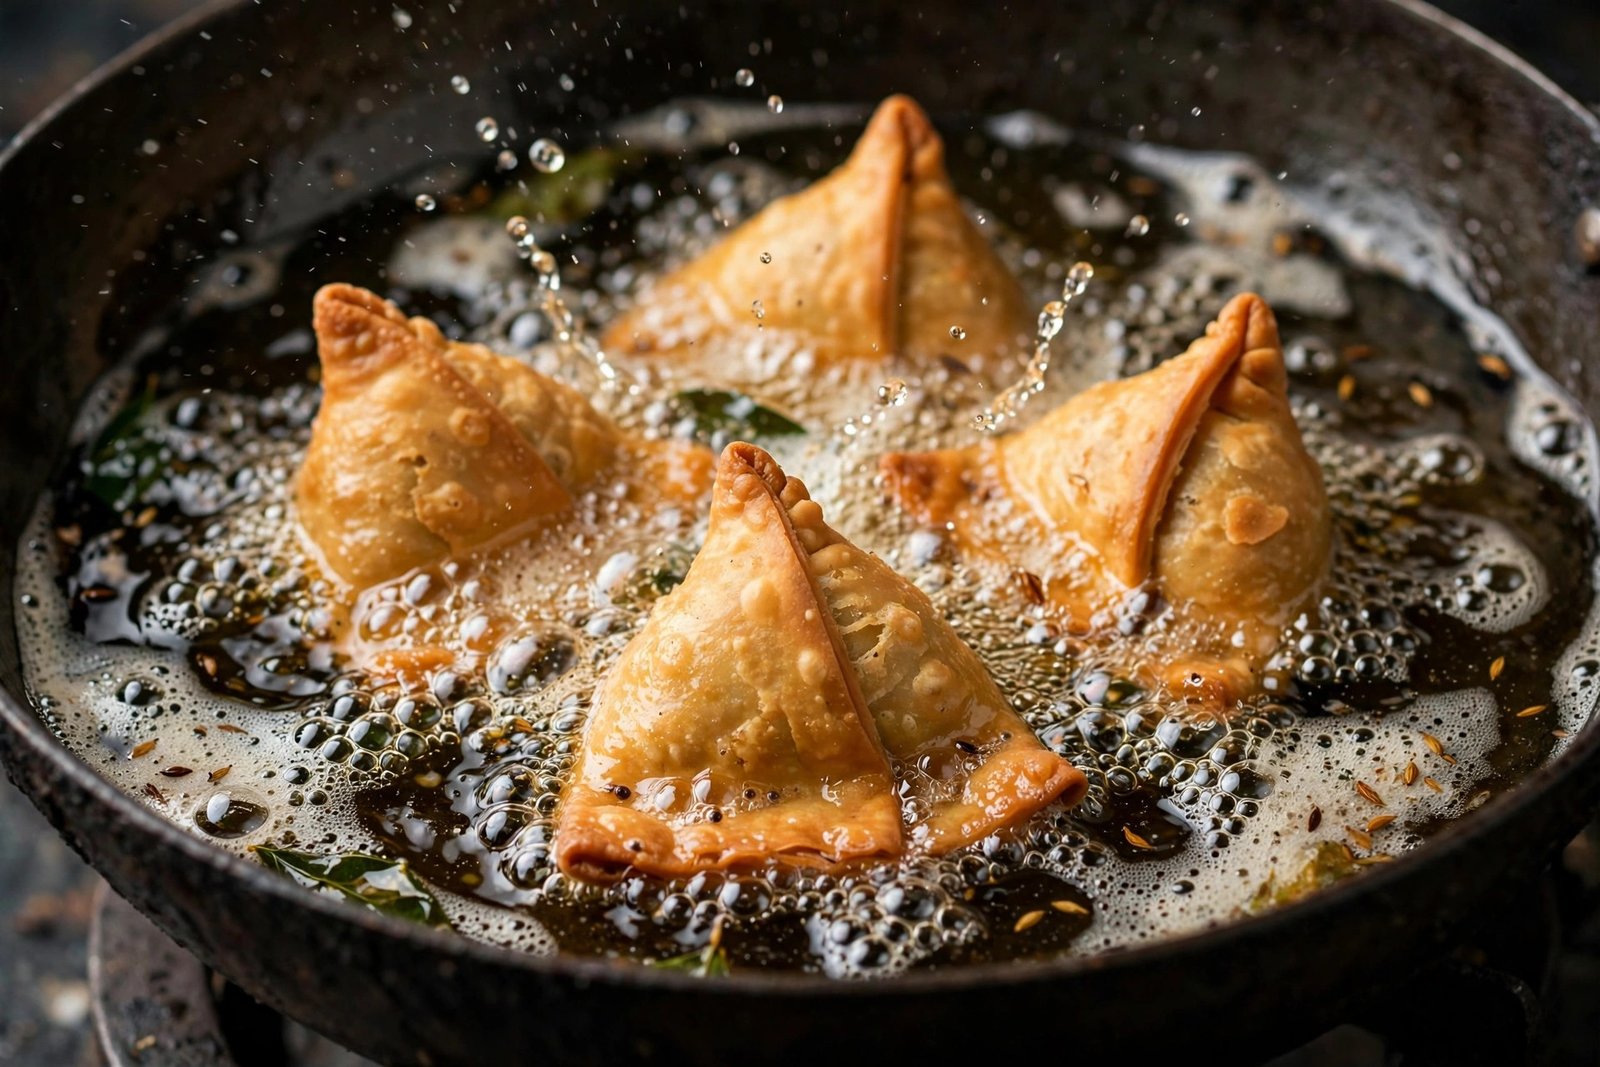
- Fry in batches. Slide in 3–4 samosas at a time, making sure not to crowd the kadhai. They will sink, then float as the crust sets. Fry for 12–15 minutes, turning occasionally, until they are a deep, even golden brown with tiny blisters on the surface. Patience here is everything — rushing the fry gives you a pale, soft crust. Lift out with a slotted spoon.
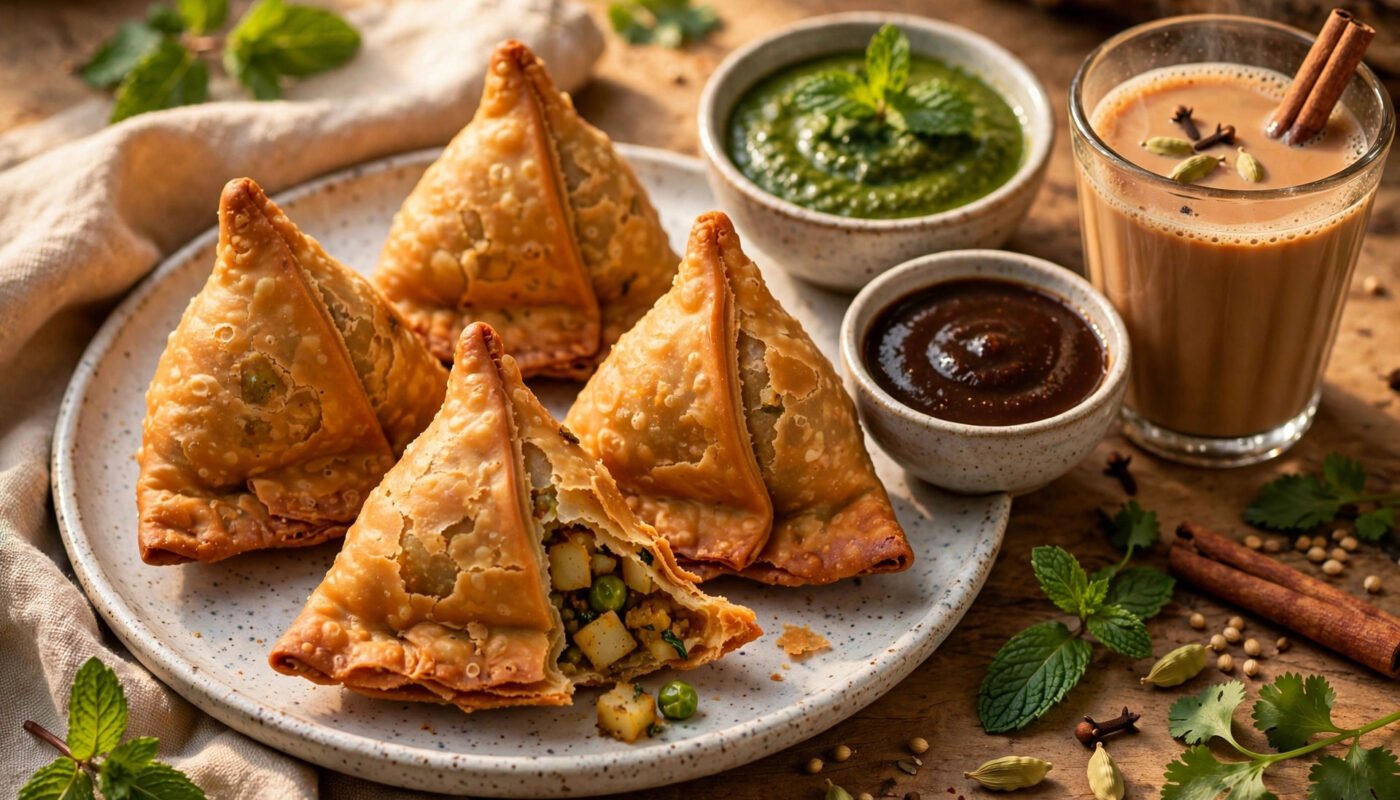
- Drain and serve hot. Drain on a wire rack or paper towels for a minute. Samosas are at their absolute best within 20 minutes of frying, while the crust is still shattering and the filling steamy. Serve with mint chutney and tamarind chutney, and watch them disappear.
Tip: Read through the full post below for step-by-step photos, pro tips, variations and FAQs before you start cooking.
The Story Behind the Punjabi Samosa
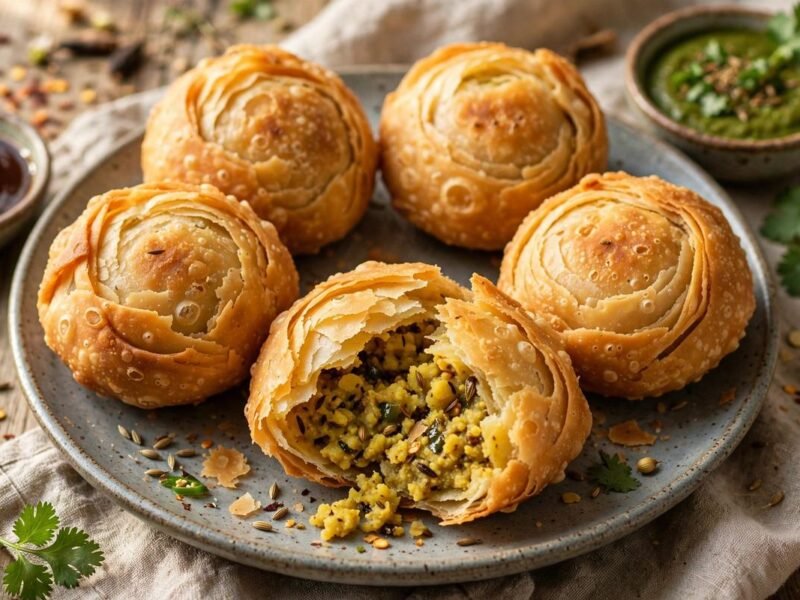
Few snacks command affection the way a Punjabi samosa does. Walk past any halwai shop in Amritsar or Ludhiana in the late afternoon and you will hear it before you see it — the gentle crackle of samosas frying in enormous iron kadhais, the golden triangles bobbing lazily in hot oil while a crowd gathers, some buying a dozen for an evening of guests, others unable to resist eating one right there, still dangerously hot, flakes shattering onto their fingers. That blistered, bubble-dappled crust and the tangy, spiced potato filling inside are not an accident; they are the product of generations of halwais perfecting two things most home cooks get slightly wrong: a firm, fat-rich dough and a slow, patient fry.
The samosa’s journey to Punjab is a long one. It arrived in the Indian subcontinent centuries ago with traders and travellers from Central Asia and the Middle East, where filled pastries called sambusak or sambosa were already popular. Over time it absorbed local character — the wheat crust, the potato filling, the distinctly Indian spice palette of cumin, coriander, amchur, and garam masala. In Punjab it found its truest home. The Punjabi samosa grew plumper and bolder than its leaner Delhi cousin, with a generously seasoned filling of mashed potatoes, sweet green peas, grated ginger, and a bright sour note from amchur (dried mango powder) or anardana (dried pomegranate seeds), all wrapped in a crust enriched with moyan — fat rubbed into the flour — and scented with ajwain seeds. No other regional version quite matches its heft and its crunch.
What makes the Punjabi samosa special is contrast: a crust that is sturdy enough to hold a heavy filling yet shatters delicately when you bite it, revealing a soft, moist, tangy interior. That contrast is pure technique. The dough must be stiff, not soft, so it fries up crisp instead of chewy. The fat must be worked into the flour until it resembles breadcrumbs, which creates the flaky layers. And the frying must be low and slow — around 150–160°C — so the crust sets gradually, turning an even deep gold without browning too fast. Rush any of these steps and you get a samosa that is either soggy, doughy, or burnt outside and raw inside. Follow them, and you get the halwai-shop crunch that makes people reach for a second one before they have finished the first.
This recipe is my family’s way, refined over countless batches. It gives you twelve generously sized samosas — enough for a weekend of chai-time snacking, a party platter, or freezing for later. Read through once before you begin, keep your oil thermometer handy, and trust the process. The first batch teaches you; the second batch makes you famous in your own kitchen.
Why You’ll Love This Recipe
- Halwai-shop crunch: the moyan-rich dough and low-and-slow frying method deliver that shatteringly crisp, blistered crust you thought only professionals could achieve.
- Bold, tangy filling: potatoes, peas, ginger, and green chillies balanced with amchur and garam masala — flavourful enough to eat plain, yet never overpowering.
- Detailed technique: every tricky step is explained — dough firmness, cone folding, sealing, and oil temperature — so beginners can succeed on the first attempt.
- Make-ahead friendly: assemble the samosas hours ahead and fry fresh when guests arrive, or freeze uncooked for samosas on demand.
- Crowd-pleaser: from Diwali parties to rainy-evening chai, samosas are the one snack nobody ever refuses.
Key Ingredients Explained
The dough is the soul of a good samosa, and everything begins with maida (all-purpose flour) and moyan — the fat rubbed into the flour before water is added. Moyan is a non-negotiable: you can use ghee or a neutral oil, and you need a generous amount, roughly a quarter of the flour’s weight. Rubbing the fat into the flour coats the flour particles, limiting gluten development and creating the short, flaky texture that defines a proper samosa crust. The classic test: squeeze a handful of the flour-fat mixture in your fist; if it holds together like damp sand, your moyan is right. Too little fat gives a hard, bread-like crust; too much makes it crumbly and greasy. Ajwain (carom seeds) goes into the dough too — not just for its warm, thyme-like aroma, but because it genuinely aids digestion of a deep-fried snack, which is why every halwai adds it.
The filling is built on boiled potatoes, and here is a tip that changes everything: boil them a day ahead or at least let them cool completely. Cold potatoes chop cleanly and stay fluffy when mixed; warm potatoes turn gluey and make the filling dense. Chop them into small cubes rather than mashing them to a paste — you want texture, little nuggets of potato holding their shape. Green peas add sweetness and colour; fresh or frozen both work, just parboil them briefly. Grated ginger and finely chopped green chillies bring heat and freshness, and this is where you calibrate the samosa to your household’s tolerance.
The souring agent is what makes the filling sing. Amchur (dried mango powder) gives a clean, bright tang, while anardana (dried pomegranate seeds) adds a deeper, fruitier sourness with little bursts of texture — Punjabi halwais often use anardana, and it is worth seeking out at an Indian grocery. If you have neither, a squeeze of lemon juice stirred in at the end works in a pinch. The spice base is cumin seeds, lightly crushed coriander seeds (crushing them yourself releases far more aroma than pre-ground powder), turmeric for colour, red chilli powder for warmth, and garam masala stirred in at the very end so its volatile aromas don’t cook away. A handful of chopped coriander leaves finishes it. Taste the filling before you seal a single samosa — it should be boldly seasoned, slightly tangy, and a touch saltier than you think necessary, because the bland crust will mellow it.
For substitutions: whole wheat flour can replace up to half the maida, though the crust will be less delicate. Mustard oil or coconut oil can stand in for ghee in the moyan, though ghee gives the most authentic flavour. If peas aren’t available, add extra potato and a few tablespoons of chopped cashews for richness. And if you’re avoiding deep-frying entirely, see the variations section for air-fryer and baked adaptations — the filling and dough technique stay the same.
Equipment You’ll Need
- Large mixing bowl and a heavy rolling board or clean countertop
- Rolling pin (belan)
- Deep, heavy kadhai or wok for frying
- Kitchen thermometer or a small piece of dough for testing oil temperature
- Slotted spoon or spider strainer
- Small bowl of water mixed with a teaspoon of flour (the sealing slurry)
- Paper towels or a wire rack set over a tray for draining
Ingredients
For the crust
- 250g all-purpose flour (maida), about 2 cups
- 60g ghee or neutral oil (about 4 tablespoons), for the moyan
- 1 teaspoon ajwain (carom seeds)
- 1 teaspoon fine salt
- 120ml water (about ½ cup), added gradually — the dough must be firm
For the filling
- 500g potatoes (about 4 medium), boiled a day ahead, cooled, peeled and cut into small cubes
- 100g green peas (about ¾ cup), fresh or frozen, parboiled
- 2 tablespoons oil or ghee
- 1 teaspoon cumin seeds
- 1 tablespoon coriander seeds, lightly crushed
- 1 tablespoon finely grated fresh ginger
- 2 green chillies, finely chopped (adjust to taste)
- ½ teaspoon turmeric powder
- 1 teaspoon red chilli powder (Kashmiri, for colour and gentle heat)
- 1½ teaspoons amchur (dried mango powder) or 1 tablespoon anardana (dried pomegranate seeds)
- 1 teaspoon garam masala
- 1¼ teaspoons salt, or to taste
- 3 tablespoons chopped fresh coriander leaves
For frying and sealing
- 750ml–1 litre neutral oil (sunflower, groundnut, or canola) for deep frying
- 2 tablespoons all-purpose flour mixed with 3 tablespoons water, to make the sealing slurry
Instructions
- Rub in the moyan. In a large bowl, whisk the flour, ajwain, and salt. Add the ghee or oil and rub it into the flour with your fingertips for 3–4 minutes, until the mixture looks like coarse, even breadcrumbs. Squeeze a handful — it should clump together like damp sand. This step creates the flaky layers, so don’t rush it.
- Make a firm dough. Add the water a splash at a time, mixing as you go, and knead for 5–6 minutes into a stiff, smooth dough — noticeably firmer than roti or poori dough. A soft dough fries up chewy and absorbs oil; a firm dough fries up crisp. Cover with a damp cloth and rest for 30 minutes. Resting relaxes the gluten so the dough rolls without springing back.
- Prepare the filling. Heat 2 tablespoons oil in a wide pan over medium heat. Add the cumin seeds and crushed coriander seeds; let them sizzle for 20–30 seconds until fragrant. Stir in the ginger and green chillies, cook for a minute, then add the peas, turmeric, and red chilli powder. Cook for 2–3 minutes, stirring, until the raw smell of the spices disappears.
- Add the potatoes and season. Tip in the cubed potatoes and salt, and toss gently so the cubes are coated in spice but don’t break apart. Cook for 4–5 minutes, stirring occasionally, letting the potatoes pick up colour and flavour. Take the pan off the heat and stir in the amchur or anardana, garam masala, and coriander leaves. Taste and adjust — it should be bold, tangy, and well-salted. Spread the filling on a plate to cool completely before assembling; warm filling makes the dough soggy and hard to seal.
- Divide and roll. Knead the rested dough briefly and divide it into 6 equal balls. Roll one ball into an oval roughly 20cm long and 13cm wide (about 8 × 5 inches), keeping the thickness even — neither paper-thin nor thick. Cut the oval in half crosswise to get two semi-circles. Keep the remaining dough covered so it doesn’t dry out.
- Form the cone. Take one semi-circle and brush the sealing slurry along the straight cut edge. Fold it into a cone, overlapping the straight edges by about 1cm, and press firmly to seal — run your thumb along the seam twice to be sure. You should have a neat cone with a pointed bottom. Hold it in your palm like a little cup.
- Fill and seal. Spoon 2–3 tablespoons of the cooled filling into the cone, filling it about three-quarters full — overfilling makes sealing difficult and causes bursting in the oil. Brush slurry around the inside of the open top edge, then pinch the top closed, pressing out any trapped air as you go. Crimp or fold the sealed edge for extra security. Set the finished samosa aside on a tray and repeat with the rest. Let the assembled samosas rest for 10–15 minutes so the seals set.
- Heat the oil low and slow. Pour oil into the kadhai to a depth of at least 7–8cm and heat it to 150–160°C (300–320°F). Test with a small piece of dough: it should sink, then rise slowly with gentle bubbles. If it browns immediately, the oil is too hot — take the pan off the heat for a minute. Low temperature is the single biggest secret to a crisp, blistered crust.
- Fry in batches. Slide in 3–4 samosas at a time, making sure not to crowd the kadhai. They will sink, then float as the crust sets. Fry for 12–15 minutes, turning occasionally, until they are a deep, even golden brown with tiny blisters on the surface. Patience here is everything — rushing the fry gives you a pale, soft crust. Lift out with a slotted spoon.
- Drain and serve hot. Drain on a wire rack or paper towels for a minute. Samosas are at their absolute best within 20 minutes of frying, while the crust is still shattering and the filling steamy. Serve with mint chutney and tamarind chutney, and watch them disappear.
Pro Tips for Perfect Results
- Fry low and slow, always. 150–160°C is the magic range. Hot oil browns the outside before the inside crisps, giving you a samosa that looks done but turns leathery as it cools. A 12–15 minute fry is normal — trust it.
- Keep the dough firm. It should feel stiff and resist your knuckles slightly. If you accidentally add too much water, knead in a spoonful of flour. Soft dough absorbs oil and fries up greasy and chewy.
- Rest the dough and the assembled samosas. Thirty minutes for the dough, and 10–15 minutes for the shaped samosas before frying. Resting relaxes gluten (no shrinking in the oil) and lets seals firm up so nothing bursts open.
- No bubbles means good moyan. If your fried samosas are covered in large, puffy bubbles, the dough was rolled too thin or the moyan was too generous. Tiny, fine blisters are the goal — they signal a properly short, flaky crust.
- Cool the filling completely. Even slightly warm filling steams the inside of the cone, weakening the seal and making the pastry soggy from within. Spread it on a plate to speed up cooling.
- Don’t crowd the kadhai. Too many samosas at once drops the oil temperature sharply, and they will absorb oil instead of crisping. Three to four at a time in a standard kadhai is the sweet spot.
- Press out trapped air when sealing. Air pockets expand in hot oil and can split the seam. Pinch the top edge firmly from one side to the other, squeezing air out as you close it.
Variations to Try
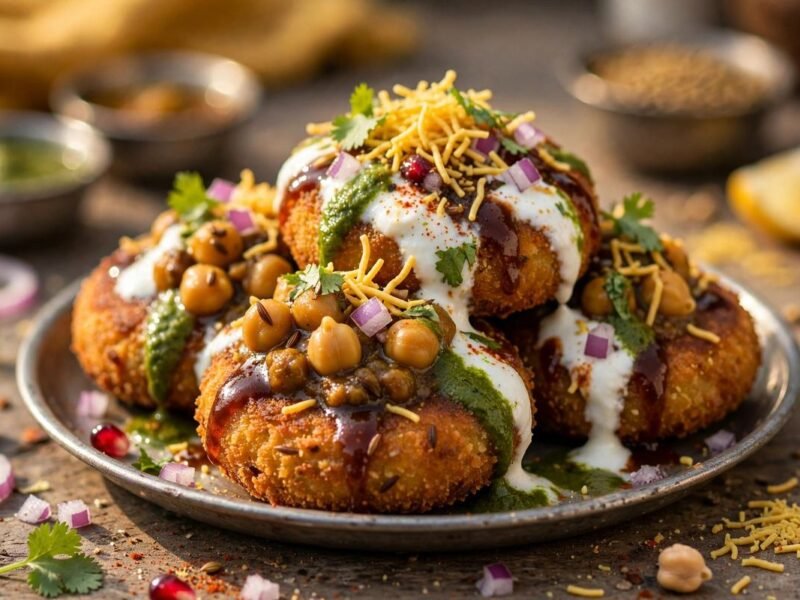
Once you have the classic aloo samosa down, the same crust technique opens up a whole world. Keema samosas swap the potato for spiced minced lamb or chicken, browned with onions and garam masala — a Mughlai-leaning favourite. Paneer samosas fill the cone with crumbled paneer, peas, and a little kasuri methi for a rich vegetarian twist that is wonderful at parties. For a baked version, brush the assembled samosas with oil and bake at 200°C (400°F) for 25–30 minutes, turning once; the crust won’t be quite as blistered but it is satisfyingly crisp. An air fryer does a fine job too: brush lightly with oil and cook at 180°C (350°F) for 15–18 minutes, flipping halfway. And for the beloved street-food mash-up, make samosa chaat: crush a samosa onto a plate, ladle over chole, yoghurt, both chutneys, chopped onions, and a snowfall of sev.
Serving Suggestions
Samosas demand chutneys, and the classic pairing is non-negotiable: a sharp, herby mint-coriander chutney and a sweet-sour tamarind (imli) chutney. The contrast of hot, crisp pastry against cool, tangy chutneys is the whole point. For chai-time, serve two samosas per person with a pot of strong masala chai — the tannins cut the richness beautifully. At parties, arrange them on a platter with the chutneys in small bowls and a scattering of onion rings and lemon wedges. Leftover samosas (if such a thing exists in your house) make an excellent samosa pav: tuck one into a buttered, toasted pav with chutneys and onions, Mumbai-style. And for a full street-food spread, pair them with a glass of chilled chaas or sweet lassi to balance the spice.
Storage and Reheating
Uncooked samosas are the best thing to store: arrange them in a single layer on a tray, freeze until solid, then transfer to a freezer bag. They keep for up to 2 months — fry straight from frozen, adding 3–4 minutes to the frying time and keeping the oil at the low end of the range. Cooked samosas keep in an airtight container in the refrigerator for 2–3 days. Never reheat them in the microwave unless you enjoy sogginess; instead, warm them in a 180°C (350°F) oven or air fryer for 8–10 minutes until the crust crisps up again. The filling also keeps separately in the fridge for up to 3 days, so you can roll, fill, and fry fresh samosas across several evenings from one batch of filling.
Frequently Asked Questions
Why did my samosas turn out soft instead of crispy?
The most common culprit is oil that was too hot. When samosas hit very hot oil, the outside browns in minutes before the moisture inside has time to escape, and the crust turns soft and leathery as it cools. Fry at 150–160°C for a full 12–15 minutes. The second most common cause is a soft dough — it should be stiff and firm, not pliable like roti dough.
Why did my samosas open up or burst while frying?
Usually a sealing problem: the slurry wasn’t applied generously enough, trapped air expanded and split the seam, or the samosas went into the oil before the seals had time to set. Press the seams firmly, squeeze out air pockets, and let assembled samosas rest 10–15 minutes before frying. Overfilling is another cause — fill only three-quarters full.
Can I make the dough in advance?
Yes. The dough keeps well in the refrigerator for up to 24 hours — wrap it tightly so it doesn’t dry out. Let it come to room temperature for 20–30 minutes before rolling, and knead it briefly to restore smoothness. The filling can also be made a day ahead and refrigerated.
What’s the difference between amchur and anardana in the filling?
Both add sourness, but they taste different. Amchur (dried mango powder) gives a clean, straightforward tang that blends invisibly into the filling. Anardana (dried pomegranate seeds) adds a fruitier, slightly sweeter sourness plus tiny chewy bursts of texture — this is the more traditional Punjabi choice and what most halwais use. Either works; anardana is worth the trip to the Indian grocery.
Can I bake or air-fry samosas instead of deep-frying?
You can, with a small trade-off in texture. Brush assembled samosas lightly with oil and bake at 200°C (400°F) for 25–30 minutes, turning once, or air-fry at 180°C (350°F) for 15–18 minutes, flipping halfway. You’ll get a crisp, golden samosa, though without the signature blistered crust that only a slow deep-fry produces. Keep the moyan and the firm dough exactly the same — both matter even more in the oven.
How do I keep samosas crispy for a party?
Fry them no more than 1–2 hours before serving and hold them in a single layer on a wire rack in a warm oven (about 100°C/200°F) — never stack them or cover them, which traps steam and softens the crust. Better still, assemble ahead and fry the final batch just as guests arrive; nothing beats a samosa straight from the kadhai.
There is something deeply satisfying about pulling a tray of golden, crackling samosas from your own kadhai — the smell of ajwain and ghee in the air, the first shattering bite, the tangy potato filling steaming against the cool chutneys. It takes a little practice, but once your hands learn the cone-fold and your ear learns the quiet sizzle of the right oil temperature, you’ll wonder why you ever bought them. Make a batch this weekend, share them generously, and enjoy every crisp, flaky bite.