Recipe Card
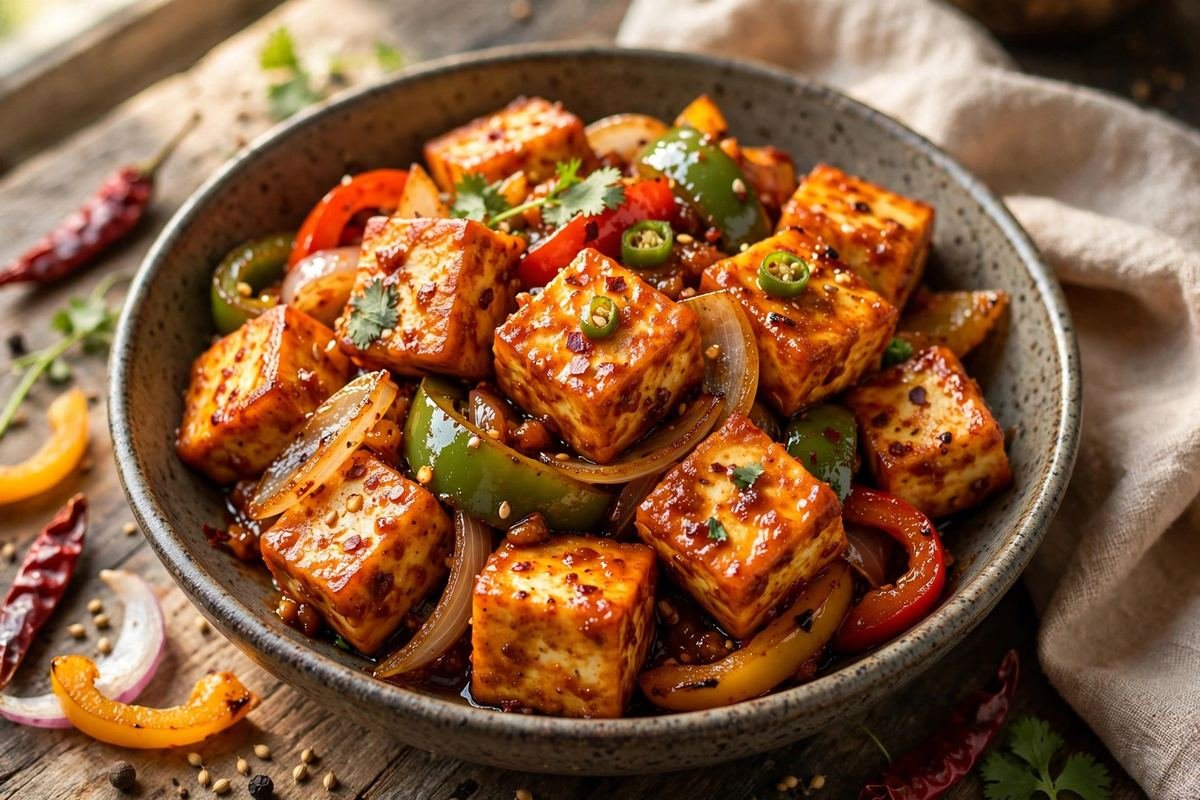
Golden crisp-fried paneer cubes tossed with crunchy peppers and onions in a glossy soy-chilli glaze — the ultimate Indo-Chinese starter. This dry version keeps the paneer shatteringly crisp, just like your favourite restaurant.
Ingredients
- 400g fresh paneer, cut into 1-inch cubes
- 4 tbsp cornflour, plus 2 tbsp for the slurry
- 2 tbsp maida (all-purpose flour)
- 1 tsp black pepper powder
- 1 tsp Kashmiri red chilli powder (for colour)
- 1/2 tsp salt, plus more to taste
- 3-4 tbsp water, for the coating
- Oil for deep frying, plus 2 tbsp for the toss
- 1 tbsp finely chopped garlic (5-6 cloves)
- 1 tsp finely chopped ginger
- 2 green chillies, slit lengthwise
- 1 large onion, cut into 1-inch petals
- 1 large green capsicum, cut into 1-inch pieces
- 1/2 red capsicum, cut into 1-inch pieces (optional, for colour)
- 2 tbsp soy sauce
- 1 tbsp white vinegar
- 2 tbsp red chilli sauce (or schezwan sauce for extra heat)
- 1 tbsp tomato ketchup
- 1/2 tsp white pepper powder
- 1/2 tsp sugar
- 1/2 cup water, for the sauce
- 4-5 spring onions, chopped (greens for garnish)
Instructions
- Coat the paneer lightly. In a wide bowl, whisk together 4 tablespoons of cornflour, the maida, black pepper, Kashmiri chilli powder, and salt. Add 3 to 4 tablespoons of water, a spoonful at a time, to make a thick coating paste — it should cling to a spoon, not run off. Add the paneer cubes and turn them gently until every cube is coated in a thin, even layer. The coating should be a skin, not a shell: if it looks like pakora batter, you have added too much water. Let the coated paneer rest for 10 minutes so the coating adheres.
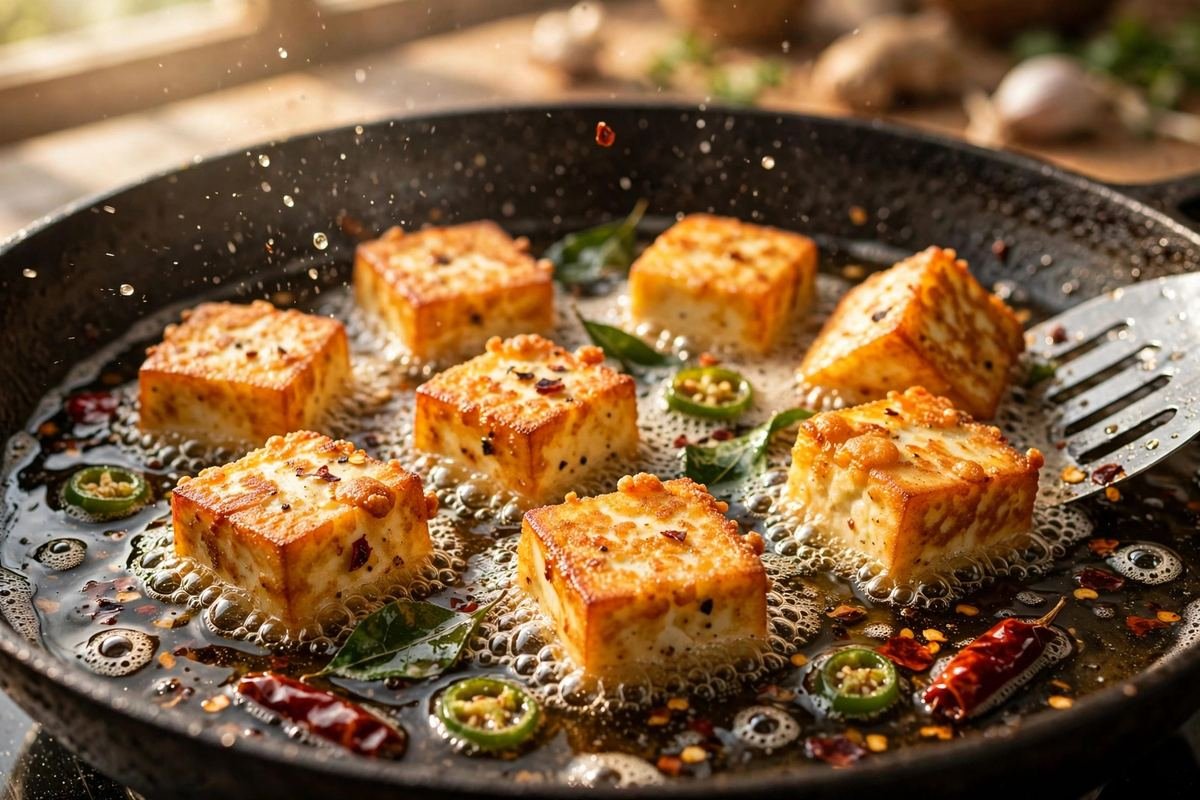
- Fry until deeply golden and crisp. Heat oil in a deep kadai to 175-180°C — a drop of coating should sizzle and rise steadily, not brown instantly. Fry the paneer in small batches, without crowding, for 3 to 4 minutes, turning once, until the cubes are a deep golden colour and the coating feels crisp when tapped with a spoon. Do not under-fry: pale, soft coating will go soggy the moment it meets the sauce. Lift out with a slotted spoon, drain on kitchen paper or a wire rack, and resist the urge to cover them — trapped steam softens the crust.
- Mix the sauce and slurry in advance. While the paneer drains, stir together the soy sauce, vinegar, chilli sauce, ketchup, white pepper, and sugar in one small bowl. In another, whisk 2 tablespoons of cornflour into half a cup of water until completely smooth — lumps here become lumps in your glaze, so take the extra ten seconds to get it silky. Keep both bowls by the stove. The final toss happens in under two minutes, so there is no time to mix mid-cook.
- Flash-cook the aromatics. Heat 2 tablespoons of oil in a wide wok over the highest flame until smoking. Add the chopped garlic, ginger, and slit green chillies and stir-fry for 20 seconds until fragrant — the garlic should smell intensely aromatic but stay pale; browned garlic turns bitter and will taint the whole dish. This lightning-fast aromatic base is what makes the final dish smell like a restaurant kitchen.
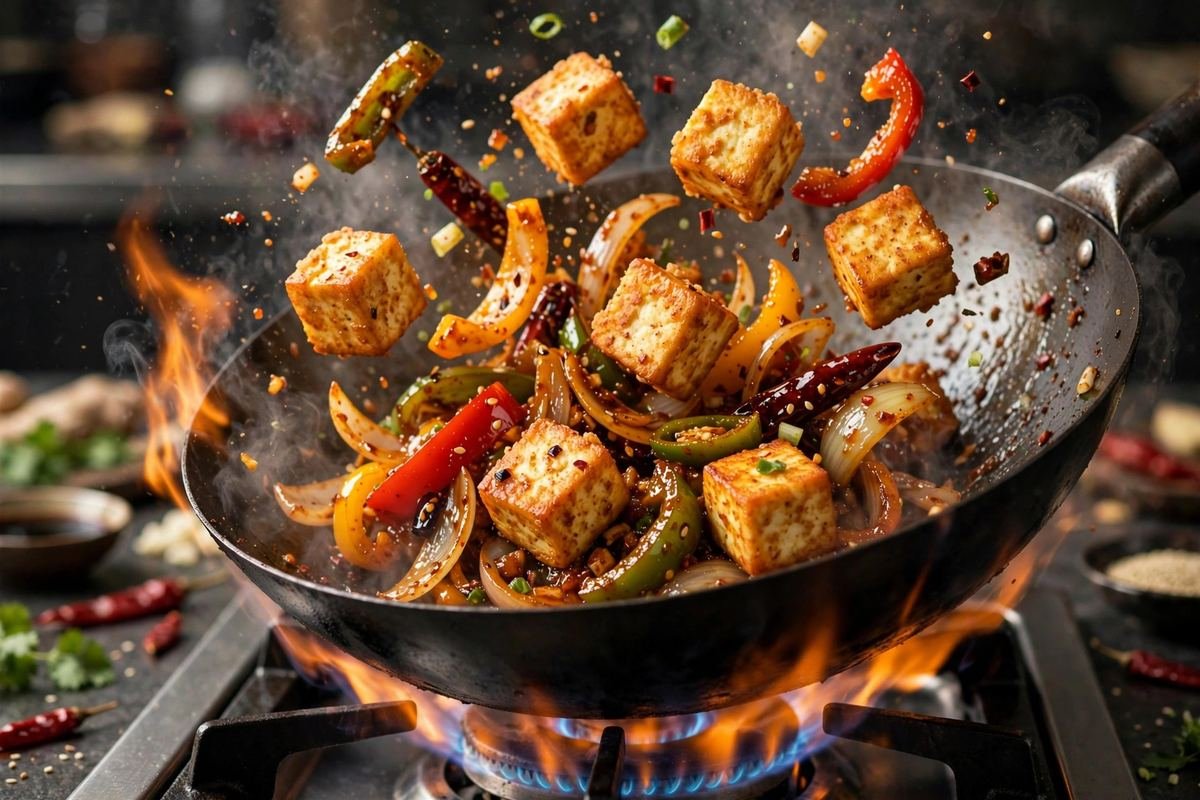
- Toss the vegetables briefly. Add the onion petals and capsicum pieces and toss on high heat for 1 to 1 1/2 minutes. You want them glossy, vivid, and still crunchy — they should squeak slightly when you bite them. Season with a tiny pinch of salt and toss once more. Remember, these vegetables are a contrast to the soft paneer, not a cooked sabzi, so pull them off the heat while they still look almost raw.
- Build the glaze. Pour the mixed sauce into the wok and let it bubble for 15 to 20 seconds. Give the cornflour slurry a quick re-stir (it settles fast) and drizzle it in while tossing. The sauce will thicken almost immediately into a glossy glaze that coats the back of a spoon — this is the moment of truth for a dry chilli paneer. If it looks too thick, splash in a tablespoon of water; if too thin, let it bubble a few more seconds. You want a clinging glaze, not a flowing sauce.
- Add the paneer and finish fast. Tip in the fried paneer cubes and toss gently but thoroughly for 30 to 45 seconds, just until every cube is glossed with sauce. Do not over-toss — every extra minute in the wok softens the crust you worked so hard to build. Scatter the spring onion greens over the top, give one final fold, and transfer to a serving platter immediately. Serve within minutes, while the crust is still crisp and the glaze still glistens.
Tip: Read through the full post below for step-by-step photos, pro tips, variations and FAQs before you start cooking.
Chilli paneer occupies a special place in the Indian imagination — it is the starter you order “for the table” and then quietly hope nobody else takes too much of. Crisp on the outside, soft and milky inside, glossed with a fiery soy-chilli sauce and studded with crunchy peppers and onions, it is the dish that turns an ordinary dinner into an occasion. And while restaurants serve it in two styles — dry and gravy — the dry version is the one that separates the confident home cook from the crowd, because its whole magic depends on timing: the paneer must stay crisp under its glaze, the vegetables must stay crunchy, and the whole thing must hit the table steaming.
Like so much of Indo-Chinese cooking, chilli paneer is a beautiful hybrid. The Chinese technique of coating protein in a light batter and flash-frying it meets the Indian love of bold, punchy masalas and fresh paneer — a cheese that the Chinese immigrants of Kolkata adopted and made their own. The “dry” style, with just enough sauce to coat every cube in a shimmering glaze and no pool of gravy at the bottom, is the purist’s version: every bite is a contrast between the shattering crust, the soft cheese, and the sharp bite of raw-ish peppers and onions. Get the technique right and it rivals anything you have had at a restaurant — and frankly, most restaurant versions sit under a heat lamp losing their crispness, while yours goes straight from wok to plate.
What makes this recipe special is its obsession with crispness. The paneer gets a thin, seasoned cornflour coating — not a thick pakora batter — and is fried until deeply golden, so the crust stays audibly crisp even after tossing. The sauce is minimal by design: just soy, vinegar, chilli sauce, and a light cornflour slurry to make it cling. And the vegetables go in at the very last moment, cooked barely a minute, so they taste fresh and sweet against the spicy glaze. Serve it hot, serve it fast, and watch it disappear.
Why You’ll Love This Recipe
- Shatteringly crisp paneer — a thin cornflour coating and proper frying technique keep every cube golden and crunchy, not soggy.
- Restaurant-style dry glaze — the sauce clings to the paneer in a glossy coat with no watery pool at the bottom of the plate.
- Ready in 35 minutes — impressive enough for guests, easy enough for a weeknight craving.
- The ultimate party starter — it vanishes from the table in minutes and pairs beautifully with drinks or as part of an Indo-Chinese spread.
- Fully customisable heat — dial the chillies and chilli sauce up or down without changing anything else.
- No exotic ingredients — cornflour, soy sauce, vinegar, and fresh paneer are all you need beyond basic vegetables.
Key Ingredients Explained
Paneer is the star, so its quality matters enormously. Use fresh, firm paneer — ideally made the same day or bought fresh from a dairy, not the rubbery vacuum-packed kind that has been sitting for weeks. Firm paneer holds its cube shape through frying and tossing; soft, crumbly paneer will disintegrate. If your paneer feels a little soft, press it under a weight for 20 minutes before cutting. Cut it into even 1-inch cubes — uniform pieces fry evenly, and bite-sized cubes give the perfect ratio of crust to creamy centre.
Cornflour is the secret to the crisp coating. A light dusting of cornflour (with a little maida for structure) mixed with seasonings forms a thin, almost translucent crust when fried — this is not a thick batter, and that distinction matters. The thin coating fries up shatteringly crisp and, crucially, stays crisp under the glaze. Some cooks add a beaten egg to the coating for extra crunch and colour; it is optional but worth trying.
The sauce trio — soy sauce, vinegar, and chilli sauce — is the Indo-Chinese holy trinity. Soy brings salt and savoury depth, vinegar brings the signature tang, and chilli sauce (the red Indo-Chinese kind, or schezwan sauce for more punch) brings heat. A touch of tomato ketchup rounds out the sharpness with a hint of sweetness and gives the glaze its appetising colour. White pepper adds its characteristic warm background heat, distinct from chillies.
For vegetables, capsicum (use two colours if you like — green plus red or yellow) and onions cut into chunky petals are classic. They must be cut large — roughly 1-inch pieces — so they stay crunchy and sweet in the final toss; finely chopped vegetables would melt into the sauce. Spring onions finish the dish with freshness, and garlic and ginger, finely chopped, build the aromatic base. A light cornflour slurry thickens the sauce just enough to make it cling to every cube without turning it into gravy.
Equipment You’ll Need
- A deep kadai or wok — for frying the paneer; a heavy bottom keeps the oil temperature steady.
- A wide wok or large frying pan — for the final high-heat toss; you can use the same kadai after frying.
- A slotted spoon or spider strainer — for lifting the paneer out of the oil cleanly.
- Kitchen paper or a wire rack — for draining the fried paneer so it stays crisp.
- Small bowls — for the coating mix, the sauce mix, and the cornflour slurry; everything pre-measured before you start.
- Tongs — for the final toss, so the paneer cubes stay intact.
- 400g fresh paneer, cut into 1-inch cubes
- 4 tbsp cornflour, plus 2 tbsp for the slurry
- 2 tbsp maida (all-purpose flour)
- 1 tsp black pepper powder
- 1 tsp Kashmiri red chilli powder (for colour)
- 1/2 tsp salt, plus more to taste
- 3-4 tbsp water, for the coating
- Oil for deep frying, plus 2 tbsp for the toss
- 1 tbsp finely chopped garlic (5-6 cloves)
- 1 tsp finely chopped ginger
- 2 green chillies, slit lengthwise
- 1 large onion, cut into 1-inch petals
- 1 large green capsicum, cut into 1-inch pieces
- 1/2 red capsicum, cut into 1-inch pieces (optional, for colour)
- 2 tbsp soy sauce
- 1 tbsp white vinegar
- 2 tbsp red chilli sauce (or schezwan sauce for extra heat)
- 1 tbsp tomato ketchup
- 1/2 tsp white pepper powder
- 1/2 tsp sugar
- 1/2 cup water, for the sauce
- 4-5 spring onions, chopped (greens for garnish)
- Coat the paneer lightly. In a wide bowl, whisk together 4 tablespoons of cornflour, the maida, black pepper, Kashmiri chilli powder, and salt. Add 3 to 4 tablespoons of water, a spoonful at a time, to make a thick coating paste — it should cling to a spoon, not run off. Add the paneer cubes and turn them gently until every cube is coated in a thin, even layer. The coating should be a skin, not a shell: if it looks like pakora batter, you have added too much water. Let the coated paneer rest for 10 minutes so the coating adheres.
- Fry until deeply golden and crisp. Heat oil in a deep kadai to 175-180°C — a drop of coating should sizzle and rise steadily, not brown instantly. Fry the paneer in small batches, without crowding, for 3 to 4 minutes, turning once, until the cubes are a deep golden colour and the coating feels crisp when tapped with a spoon. Do not under-fry: pale, soft coating will go soggy the moment it meets the sauce. Lift out with a slotted spoon, drain on kitchen paper or a wire rack, and resist the urge to cover them — trapped steam softens the crust.
- Mix the sauce and slurry in advance. While the paneer drains, stir together the soy sauce, vinegar, chilli sauce, ketchup, white pepper, and sugar in one small bowl. In another, whisk 2 tablespoons of cornflour into half a cup of water until completely smooth — lumps here become lumps in your glaze, so take the extra ten seconds to get it silky. Keep both bowls by the stove. The final toss happens in under two minutes, so there is no time to mix mid-cook.
- Flash-cook the aromatics. Heat 2 tablespoons of oil in a wide wok over the highest flame until smoking. Add the chopped garlic, ginger, and slit green chillies and stir-fry for 20 seconds until fragrant — the garlic should smell intensely aromatic but stay pale; browned garlic turns bitter and will taint the whole dish. This lightning-fast aromatic base is what makes the final dish smell like a restaurant kitchen.
- Toss the vegetables briefly. Add the onion petals and capsicum pieces and toss on high heat for 1 to 1 1/2 minutes. You want them glossy, vivid, and still crunchy — they should squeak slightly when you bite them. Season with a tiny pinch of salt and toss once more. Remember, these vegetables are a contrast to the soft paneer, not a cooked sabzi, so pull them off the heat while they still look almost raw.
- Build the glaze. Pour the mixed sauce into the wok and let it bubble for 15 to 20 seconds. Give the cornflour slurry a quick re-stir (it settles fast) and drizzle it in while tossing. The sauce will thicken almost immediately into a glossy glaze that coats the back of a spoon — this is the moment of truth for a dry chilli paneer. If it looks too thick, splash in a tablespoon of water; if too thin, let it bubble a few more seconds. You want a clinging glaze, not a flowing sauce.
- Add the paneer and finish fast. Tip in the fried paneer cubes and toss gently but thoroughly for 30 to 45 seconds, just until every cube is glossed with sauce. Do not over-toss — every extra minute in the wok softens the crust you worked so hard to build. Scatter the spring onion greens over the top, give one final fold, and transfer to a serving platter immediately. Serve within minutes, while the crust is still crisp and the glaze still glistens.
Pro Tips for Perfect Results
- Fresh paneer is non-negotiable. Rubbery, old paneer will not crisp properly and tastes sour. Press soft paneer under a weight first so it fries up firm.
- Thin coating, hot oil. A thick batter turns gummy under the glaze; a thin cornflour skin fries shatteringly crisp. Oil at 175-180°C gives golden colour without greasiness.
- Fry in small batches. Crowding drops the oil temperature and the paneer steams instead of crisping. Patience here pays off in crunch.
- Dry means dry. The slurry should thicken the sauce to a clinging glaze. If there is a pool of sauce at the bottom of your platter, you have made the gravy version — delicious, but a different dish.
- Vegetables go in last and briefly. Crunchy peppers and onions are the whole point. One to ninety seconds on high heat is all they need.
- Serve immediately. Chilli paneer has a crispness half-life of about ten minutes. Plate it hot and get it to the table fast.
- Taste the sauce before adding paneer. Once the paneer goes in, adjustments are hard. Check salt, tang, and heat while the glaze is still just sauce.
Variations to Try
Chilli Paneer Gravy: Double the water in the sauce and add an extra spoonful of slurry for a luscious gravy version — perfect spooned over fried rice or hakka noodles. This is the version most North Indian restaurants serve as a main course.
Schezwan Chilli Paneer: Replace the red chilli sauce with 2 tablespoons of schezwan sauce and add a few dried red chillies to the aromatics. Smokier, more garlicky, and properly fiery.
Honey Chilli Paneer: Drizzle a tablespoon of honey over the finished dish and toss once. The sweet-heat combination is dangerously addictive and a huge hit with kids.
Chilli Paneer with a twist of pepper: Skip the chilli sauce, double the cracked black pepper, and add curry leaves to the tempering for a South Indian-Chinese fusion that is aromatic rather than fiery.
Baked “fried” paneer: For a lighter version, toss the coated paneer with a tablespoon of oil and bake at 220°C for 15-18 minutes, turning once, until crisp. The crust is slightly less shattering than deep-fried, but still excellent under the glaze.
Serving Suggestions
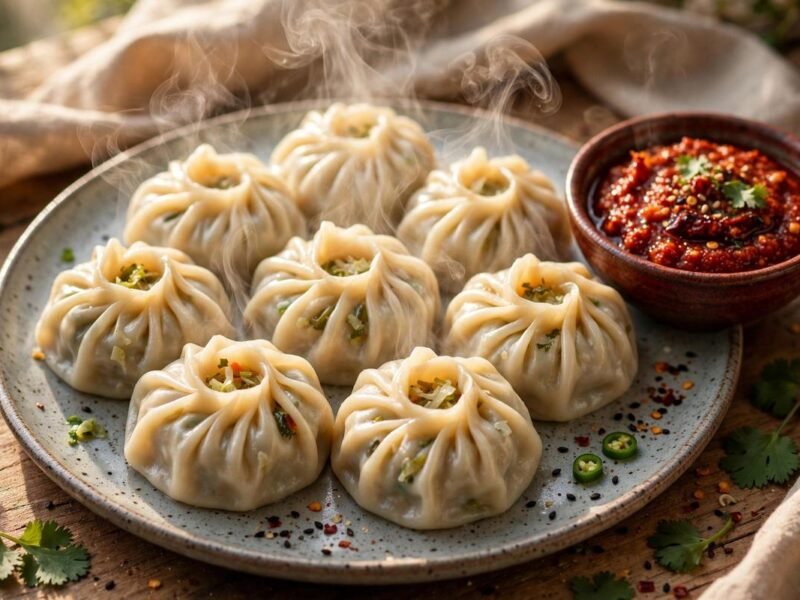
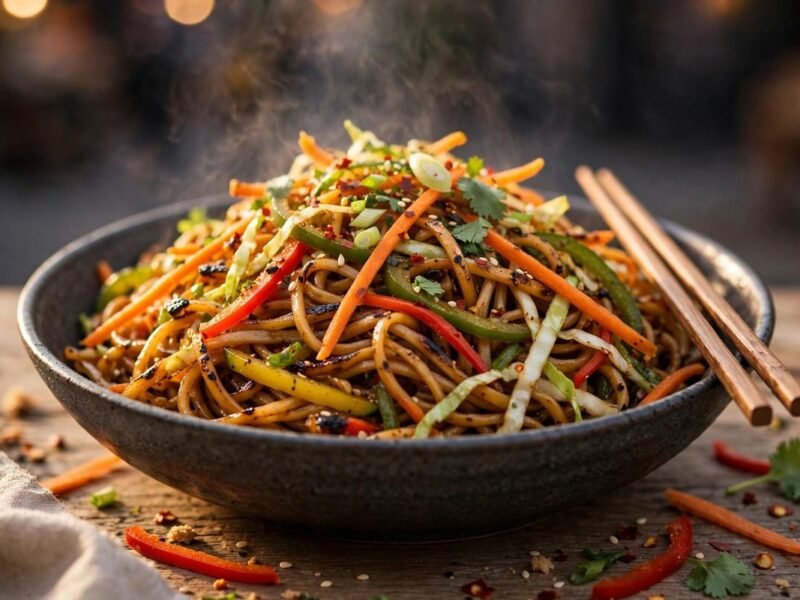
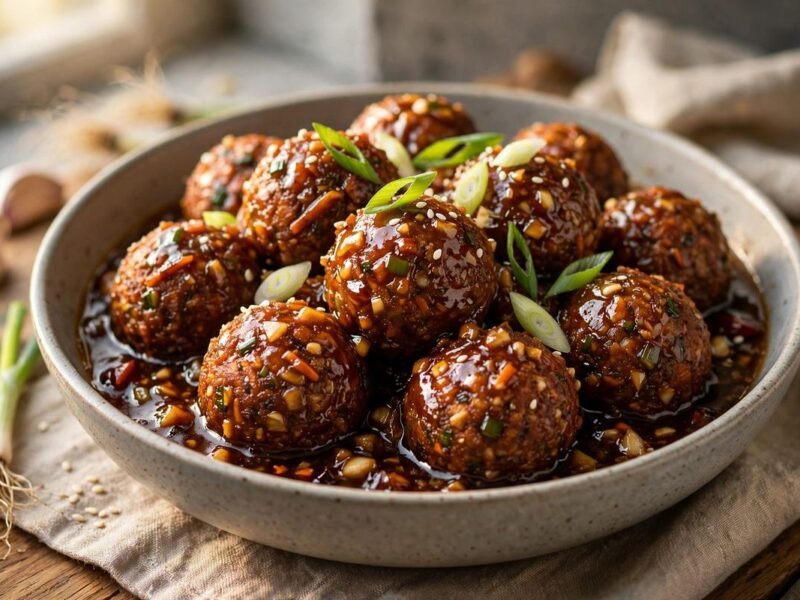
Dry chilli paneer is at its best as a starter, served on a hot platter with toothpicks and plenty of napkins — it is gloriously messy eating. As part of an Indo-Chinese spread, pair it with hakka noodles or veg fried rice and a bowl of manchurian, and add spring rolls for crunch. For drinks, it loves anything cold and fizzy: fresh lime soda, masala shikanji, or an ice-cold cola all cut through the richness and heat. If you are serving it at a party, keep the fried paneer ready and do the final toss in small batches as guests arrive, so every serving hits the table at peak crispness. A final sprinkle of toasted sesame seeds and extra spring onion greens makes it look as good as it tastes.
Storage and Reheating
Chilli paneer is a dish that demands to be eaten fresh — the crisp coating begins softening within minutes of tossing, and refrigeration only accelerates that. If you must store leftovers, keep them in an airtight container in the fridge for up to 1 day, but expect the texture to be softer; the flavour will still be good. To reheat, spread the pieces on a baking tray and warm in a hot oven (200°C) or air fryer for 5 to 7 minutes — this revives some crispness. The microwave will make the coating rubbery, so avoid it. A smarter make-ahead strategy: fry the paneer up to 4 hours ahead and keep it uncovered at room temperature, then do the final toss just before serving. Do not freeze the finished dish; the paneer turns spongy and the vegetables go limp on thawing.
Frequently Asked Questions
Why did my paneer turn soggy after tossing?
Usually one of three things: the coating was too thick, the paneer was under-fried (pale instead of deep golden), or it sat in the sauce too long. Fry until genuinely crisp and deep golden, keep the sauce to a clinging glaze, and toss the paneer for under a minute before serving immediately.
Can I make chilli paneer without deep frying?
Yes. Pan-fry the coated cubes in a shallow layer of oil, turning until crisp all over, or bake/air-fry them at 220°C until golden. You lose a little of the deep-fried shatter, but the dish is still excellent — and noticeably lighter.
What’s the difference between dry and gravy chilli paneer?
Dry chilli paneer has just enough sauce to glaze the cubes, with crunchy vegetables and maximum crispness — it is a starter. The gravy version has a flowing, spoonable sauce and is served as a main course over rice or noodles. This recipe is the dry version; double the water and slurry for gravy.
My paneer broke apart while frying. What went wrong?
The paneer was too soft or too fresh and crumbly. Press it under a heavy weight for 20-30 minutes before cutting, use firm paneer, and handle the cubes gently when coating. Very fresh homemade paneer sometimes needs a brief chill in the fridge to firm up.
Can I prepare anything in advance for a party?
Absolutely — and you should. Fry the paneer up to 4 hours ahead and keep it uncovered at room temperature so the crust stays crisp. Chop all vegetables and mix the sauce and slurry. When guests arrive, the final toss takes under 3 minutes per batch.
Is there a substitute for white pepper?
Black pepper works in a pinch, though the flavour is slightly sharper and less floral. Use a little less, as black pepper’s bite is more assertive. Avoid skipping pepper entirely — it is a defining note of Indo-Chinese seasoning.
Chilli paneer dry is one of those dishes that makes you feel like a restaurant chef in your own kitchen — the sizzle of the wok, the gloss of the glaze, that first crisp-then-creamy bite. Master the timing once and it becomes your secret weapon for every gathering, every celebration, and every evening that needs a little excitement. Just remember the golden rule: fry boldly, toss quickly, and serve immediately. Your guests will never know how easy it was.